How to Install a Tesla Model 3 Rear Spoiler: DIY Guide for a Flawless Look
Upgrade your Tesla Model 3
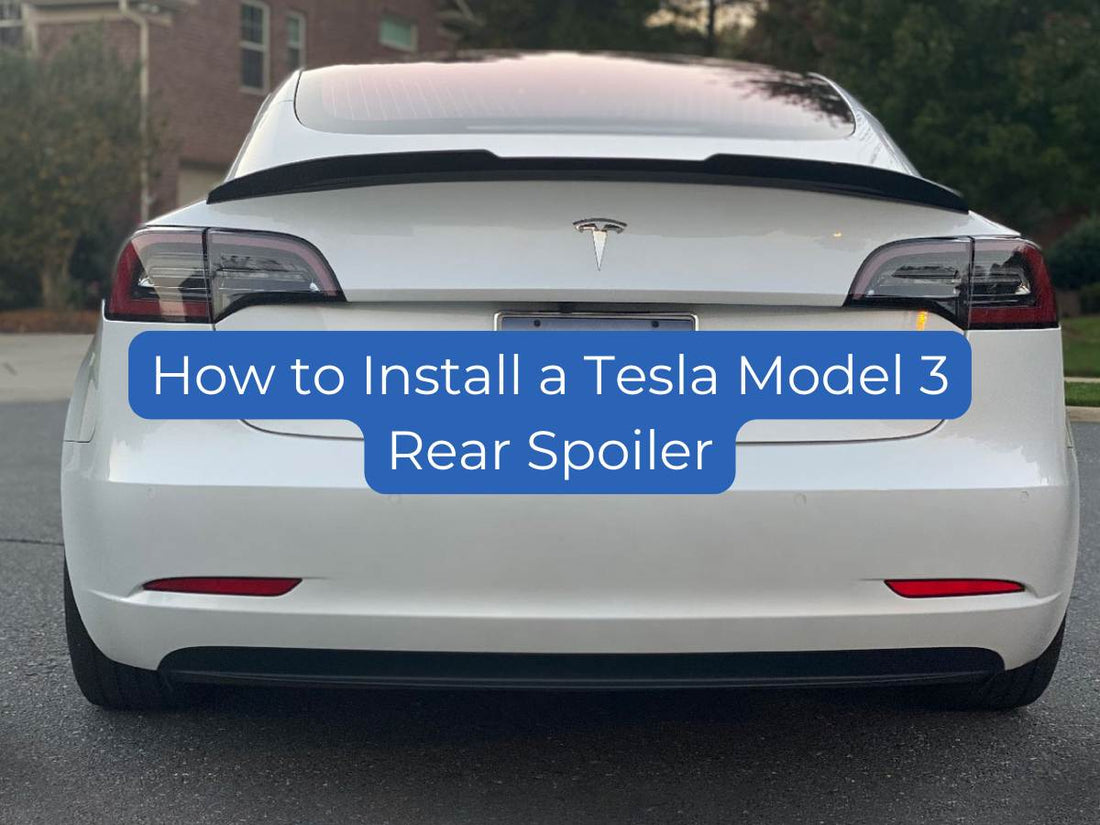
with the ACS Composite Rear Spoiler—a sleek, aerodynamic addition that boosts both performance and curb appeal. Proudly
manufactured in North America using premium PC Composite, this Tesla trunk spoiler is designed for easy
installation and precision fitment. It resists warping under intense heat and cracking in cold climates—unlike cheaper,
overseas-made parts. Backed by our heritage of crafting aerodynamic components for Corvette, the ACS Rear Deck Spoiler
ensures lasting quality and a race-inspired look for your Model 3. For a fully optimized setup, pair it with the ACS Model 3 Front
Splitter and elevate your Tesla’s style and performance in one go.


Tools & Materials You’ll Need
- 3M Adhesion Promoter (included in the ACS kit)
- 50/50 Water & Isopropyl Alcohol Solution (for surface prep)
- Alignment Templates (driver/passenger side)
- Microfiber Cloth (lint-free)
- Masking Tape (for positioning)
Step-by-Step Installation Guide
Step 1: Clean the Trunk Surface
- Wash the trunk lid with car-safe soap to remove dirt.
- Wipe the area with a 50/50 alcohol solution to eliminate wax/oils.
- Pro Tip: Dry thoroughly—moisture weakens adhesive bonds.
Step 2: Dry-Fit & Align the Spoiler
- Place the spoiler on the trunk to check fitment.
- Use masking tape to mark alignment with body lines.
- Key Check: Ensure equal overhang on both sides.
Step 3: Apply Alignment Templates
- Attach the driver/passenger templates to the trunk edges.
- Align template edges with the quarter panel seams.
Step 4: Activate the Adhesive
- Apply the 3M adhesion promoter to the trunk surface.
- Let it dry for 5 minutes until tacky.
Step 5: Install the Spoiler
- Peel the red backing from the 3M tape center first.
- Press the spoiler firmly along the marked alignment.
- Work outward, removing tape backing as you go.
Step 6: Final Inspection
- Remove templates and masking tape.
- Buff the spoiler with a microfiber cloth.
- Check for gaps—re-press any loose sections.
FAQs: Tesla Spoiler Installation
Q: How long does installation take?A: 30-45 minutes for first-timers. Watch our video guide for visual tips.
Q: Will this work on a Model 3 Performance?A: Yes! Fits all Tesla Model 3 trims (2017–2024).
Q: Can I remove the spoiler later?A: Yes—use a heat gun to soften the adhesive, then gently pry with fishing line.Do be careful with the heat gun, as you can potentially damaged both the spoiler and car.
Boost Your Tesla’s Style & Performance
The ACS Composite Tesla Model 3 Spoiler is more than an aesthetic upgrade—it’s a functional enhancement that improves aerodynamics and resale value. For a complete transformation, pair it with our Model 3 Front Splitter and explore our full range of Tesla performance parts.